

SPX Joiner, SPX Merger - Join SPX, Combine SPX, Merge many SPX files into one SPX file.
How to join audio files to spx with SPX Joiner:
 Online SPX Joiner, install it and run.
Start SPX Merger.
To start the merge process, double-click the Magic Audio Joiner shortcut on your Desktop.

After the program starts, browse to the location where you have the spx files that you want to join. For example, here we go to C:UsersPublicPublic MusicSample Music, where we can find some sample spx audio files.

Take your mouse and drag over the spx files to select them. Then drag them to the middle part of the window (where it says Drag audio files and folders here).
The window is populated as shown below.

Next, you can enter or modify the tags on each input file. For example, you could type a different artist name, title of the song, album name, year, genre or comment.
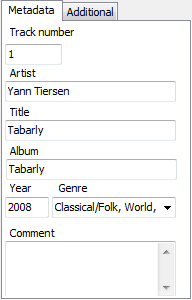
If you are curious about what a song sounds like, use the audio player controls to play the song on your system.

Finally, set the output options, such as what SPX Joiner should do if the output file already exists, where to save the output file, the format of the output and the quality.
For merging/joining files, be sure to select the Insert silence check box and also enter the number of seconds for the pause between tracks.

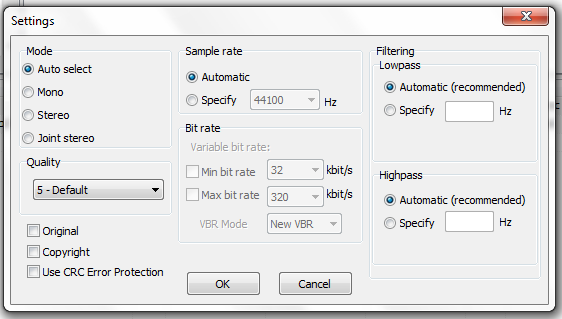
You can click ![]() to access even more options for the output file: mode, quality, sample rate, bit rate, filtering and more.
to access even more options for the output file: mode, quality, sample rate, bit rate, filtering and more.
When you have specified all of the options, click  to start the merging process.
The SPX Joiner tool displays a progress window to show you what it’s doing.
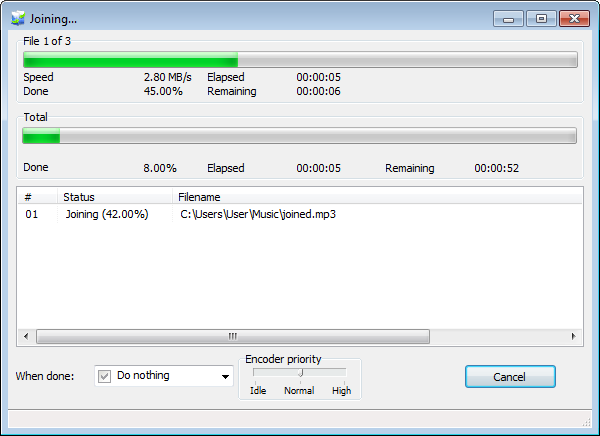
You can specify an action for the computer when the merging process is finished.

After the process finishes, click  to return to the main program.
Tags
spx joiner free download | spx joiner online | online spx joiner download | join spx files online | spx merge online | join spx online | combine spx online | spx merger download | spx merge | combine spx files | mix spx online| joining spx files online
